Solder, Safety, and Sense: Getting Started with DIY Ham Radio Repairs in Australia
Let's be honest: professional radio servicing in Australia isn't cheap, turnaround times can stretch into weeks, and for older gear the technician might not even have access to service documentation. For a lot of hams, especially those running a mix of vintage and budget equipment, the economics of paying someone else to do repairs simply don't stack up.
But cracking open a radio for the first time is intimidating. There's high voltage hiding in unexpected places, tiny surface-mount components that laugh at clumsy fingers, and a nagging voice asking whether you're about to make things worse. The good news is that with the right approach, most of that anxiety is manageable. Here's how to build your confidence — and your toolkit — without doing anything stupid.
First Things First: Respect the Voltage
This is the part nobody should skip. Amateur radio equipment — particularly HF transceivers and anything with a linear amplifier — can carry lethal voltages even after you've switched it off and unplugged it. Large filter capacitors in power supply sections can hold dangerous charges for minutes or longer after power is removed.
Before you open anything, look up the service manual. Many manufacturers (Icom, Yaesu, Kenwood) have made their legacy service documentation available online, and the community sites like mods.dk and various ham radio forums have accumulated an enormous archive. Understand what you're dealing with before your screwdriver goes anywhere near the board.
The practice of discharging capacitors through a resistive bleeder before touching anything inside a power supply stage is not optional — it's the kind of habit that keeps you in the hobby long-term. A simple discharge tool made from a 10W resistor and some test leads costs almost nothing to build and is worth having on your bench permanently.
Building Your Workshop: What You Actually Need
You don't need a professional service bench to do useful repair work. A surprising amount of common ham radio fault-finding and repair can be done with a modest toolkit assembled over time.
The essentials:
- A decent digital multimeter. The UT61E or similar mid-range units are popular in the ham community and available through Australian electronics suppliers like Jaycar and Element14. Don't buy the cheapest option — a meter that lies to you is worse than no meter.
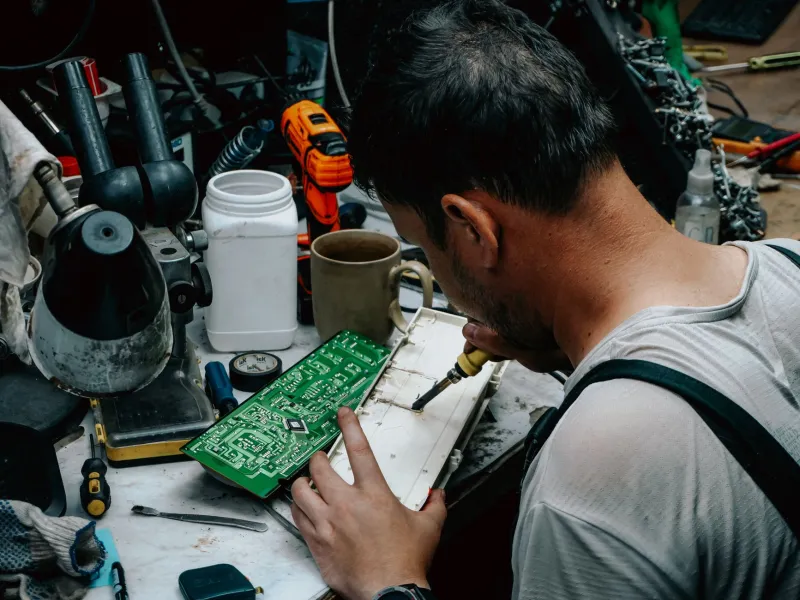
- A temperature-controlled soldering station. The Hakko FX-888D is the community favourite and reasonably priced. Avoid cheap unregulated irons for anything delicate.
- A set of JIS screwdrivers. Japanese equipment uses JIS screws that look like Phillips but aren't — using the wrong driver chews heads and causes grief. A proper JIS set is a worthwhile investment.
- Solder wick and a solder sucker for desoldering work.
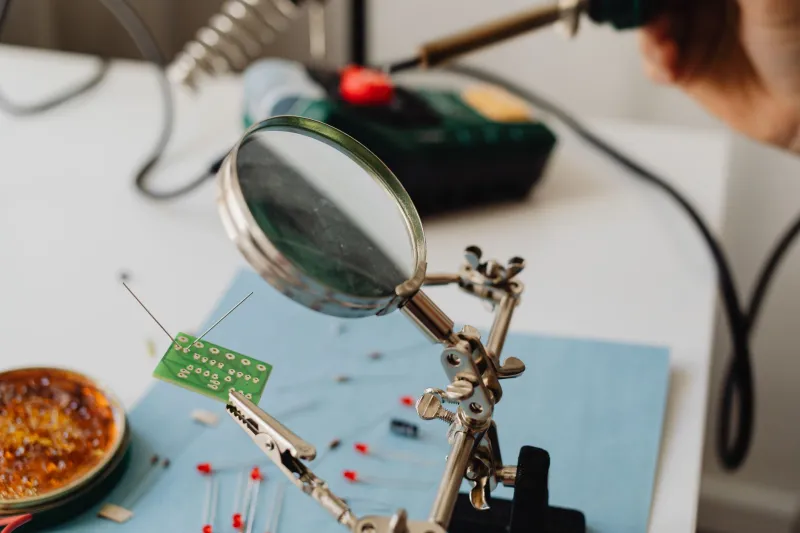
- A bright, adjustable desk lamp and ideally a magnifying lens of some kind — SMD work is hard on the eyes.
Nice to have eventually:
- An oscilloscope. Even a basic entry-level USB scope opens up a huge range of diagnostic possibilities.
- A frequency counter.
- A dummy load for RF testing after repairs.
Learning to Read a Schematic
If schematics look like abstract art to you right now, don't panic — that's a learnable skill, not an innate talent. Start with simple circuits. The ARRL Handbook has excellent introductory material on reading electronic diagrams, and there are good YouTube tutorials specifically aimed at radio technicians.
The key insight is that you don't need to understand the entire circuit at once. Good fault-finding is about following signal paths and voltage rails to find where something stops behaving as expected. A schematic is a map — you're looking for where the road ends.
For Australian hams, the WICEN and Wireless Institute of Australia technical resources occasionally include circuit-level training material, and the various state-based clubs often run technical nights where this kind of knowledge gets passed on in person. That informal mentorship is genuinely valuable — find someone who's been doing this for years and buy them a coffee.
Sourcing Parts in Australia
This used to be a real pain point, and honestly it's still not as easy as it should be. The closure of Dick Smith left a hole that hasn't been fully filled. That said, the situation has improved.
Jaycar remains the most accessible bricks-and-mortar option for common passive components, connectors, and tools. Their range isn't exhaustive but for resistors, capacitors, and basic semiconductors it'll cover a lot of everyday repairs.
Element14 (formerly Farnell) and Mouser both ship to Australia with reasonable turnaround and stock an enormous range of components including many that are difficult to source locally. For anything specific — a particular IC, a specific transistor type — these are usually your best bet.
AliExpress is the elephant in the room. Cheap, slow, and variable quality. For non-critical passive components it's often fine. For anything where performance matters — ICs, RF transistors, precision components — be cautious and buy from reputable sellers with verified feedback.
The Licensing and Legal Angle
This is where it gets nuanced in the Australian context. Under the ACMA framework, licensed amateurs have considerable latitude to build, modify, and repair their own equipment for use on amateur frequencies. However, that latitude comes with the expectation that modifications comply with the licence conditions and don't cause interference to other services.
Modifying a radio to transmit outside its designed amateur band, or in a way that degrades its spectral purity, is a real issue — not just a bureaucratic one. The Australian amateur community is a relatively small pond, and interference caused by poorly modified equipment affects everyone.
The ethical principle here is simple: if you're not confident a modification is technically sound, either get it reviewed by someone who knows, or don't do it. The technical standard of your transmitted signal is your responsibility as a licensee.
Also worth noting: modifications to equipment used on any licensed service other than amateur (like commercial or CB gear) carry completely different legal implications. Don't go there without proper advice.
Knowing When to Step Back
DIY repair is empowering, but it has limits. If you've traced a fault to a custom ASIC, a proprietary module with no available documentation, or a section of the radio where any mistake risks cascading damage to expensive components — that's a good time to call a professional.
A few indicators that you've reached that point:
- You've been at it for hours and the fault is getting less clear, not more
- The repair requires specialised alignment equipment you don't have
- The fault is in the PA stage of a high-power amplifier
- The radio is genuinely valuable and the risk of making it worse outweighs the repair cost
There's no shame in knowing your limits. The goal is to build skills progressively, not to prove something on an expensive radio.
The Real Reward
Beyond the money saved, there's something genuinely satisfying about understanding your equipment at a deeper level. When you've traced a fault through a schematic, identified the failed component, sourced a replacement, and brought a dead radio back to life — you know that radio. You understand how it works in a way that no amount of operating it will teach you.
That knowledge pays dividends in every aspect of the hobby. It makes you a better operator, a more capable EMCOMM volunteer, and frankly a more interesting person to talk to on the repeater. Get the soldering iron out.